Top 10 AI Marketing Apps & Benefits – Power of Artificial Intelligence
3 years agoSetting up FACEBOOK DOMAIN VERIFICATION & its Important
4 years ago -
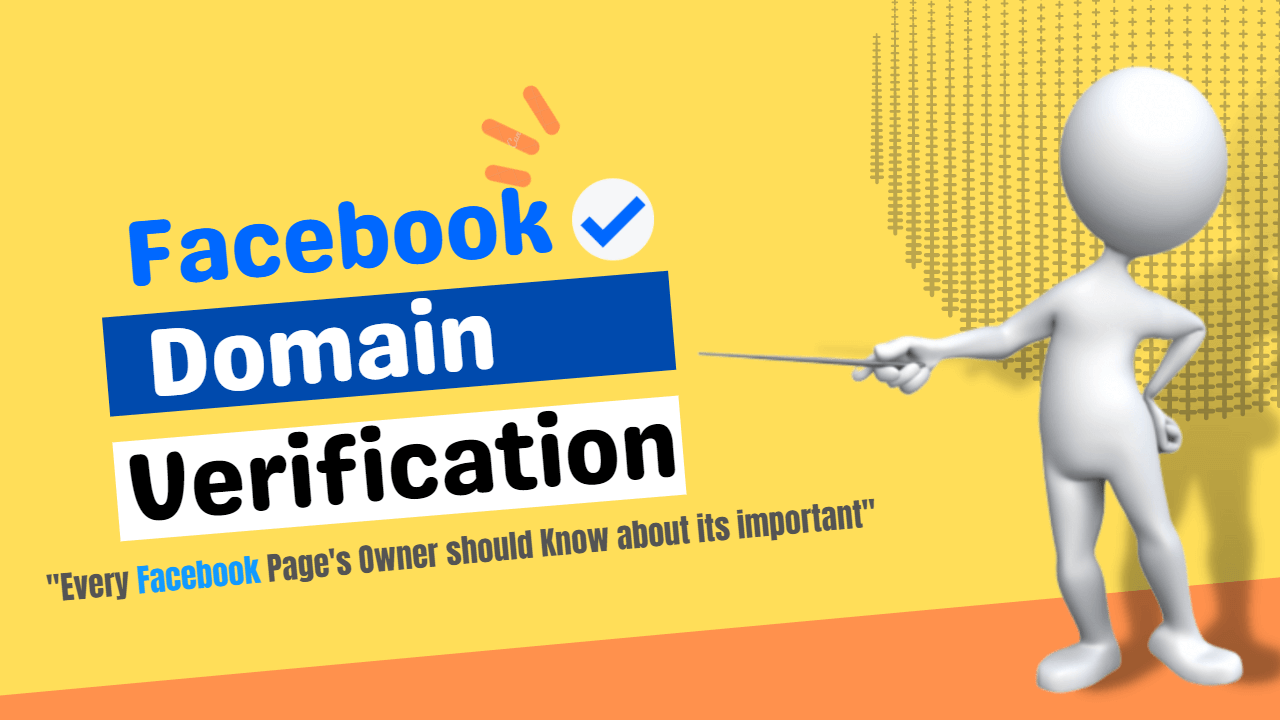
How to set up a Facebook Domain verification? What is Facebook Domain verification?
Let’s start with the basics here and first discuss what a Domain and a Facebook Domain are. After that, we will move on to “How to set up a Facebook Domain?” The good news is that we won’t spend a long time here since many of you are probably aware of what they are.
A domain is simply the address of your website. This is what people type in the URL, for example, facebook.com. Similar to this, a Facebook domain is a domain under Facebook.com.
With these basic terminologies cleared, we can start talking about our actual topic: What is a Facebook Domain Verification, and how can we set up Facebook Domain Verification?.
Table of Contents
What is Facebook Domain Verification?
Domain verification is simply a way for the user to claim ownership of his/her domain in the Business Manager. This is an extremely important step for every business since Facebook Domain Verification allows the user to control the rights to edit his/her domain links along with the contents present in the said domain.
By doing this, the domain owner can prevent the abuse of their domain and secure their domain from being misrepresented and used to spread misinformation.
Primary Users of Facebook Domain Verification
Just because you use Facebook, it doesn’t mean that you need to verify your domain. This aspect of Facebook is targeted towards professional and business owners. Let’s be honest here; although there is always a risk of your Facebook posts and content being misused for malicious intents, an average Facebook user barely has adequate influence or power to cause any serious damage in the big picture.
The scenario changes if you are a business owner. If your link is misrepresented, it can easily ruin your source of income, alongside those who work for/ with you and many other innocents.
The rest of the primary users are in a similar situation as well. So, who are the primary users of Facebook Domain Verification?
- The users who own a large number of Facebook pages
- Business managers
- Those with the ability to upload HTML files to the webroot directory
- If a user can edit DNS TXT
- Content creators or editors for Facebook pages
- Those who use Facebook to promote their domain/ website
- Users who want to configure web events with aggregated event measurement.
How can I get a blue tick on Facebook?
After knowing what a Facebook Domain Verification is and the people who use the Facebook domain verification, it’s finally time to know how to set up a Facebook Domain Verification.
The good news is that you can choose between three methods to do this. The bad news is, all three of these methods need some programming knowledge.
However, before you use any of these three methods, you must do a preparation step. This step adds the domain you want to verify to the Facebook Business Manager.
Set up Facebook Domain Verification through Facebook Business Portfolio
Facebook Business Manager is a simple tool that helps you to manage your business. This is done to grant and restrict access to assets and accounts that use the business page, i.e., the domain you want to verify.
To add your domain to Facebook Business Manager, you have to:
- Step 1: Go to Business Settings
- Step 2: Click on Brand Safety and then go to Domains
- Step 3: Click on “Add” and insert your domain.


Note* Step 3 will be done in a pop-up window.
Once you are done with these steps, you will need to specify the roles, and you will be good to go. Note that only the administrators will have complete authority over the Domain access and assets once this is done.
After you are done with this, you can choose any of the three methods to verify your Facebook domain.
Three Methods of Facebook Domain Verification
There are three primary methods of verifying your Facebook domain. These methods are:
- Using DNS TXT entry
- By uploading HTML files provided by Facebook
- Through the addition of <Meta Tag> to the <Head> Section of your domain home page
As we mentioned, if you don’t have any background in programming, it will be hard for you to use these methods. Here, the best option is to hire an expert. However, if you are familiar with these terms and know how they function, you can choose the one you prefer.
Let’s talk about them in detail now.
Method 1 – Using DNS TXT entry
In this method, the DNS verification tab of your preferred domain will provide the text information that is required to add to the DNS record to verify the domain. To do this, you will need to:
- Step 1: Go to the DNS record of your Domain Host
- Step 2: Add the text from the DNS verification tab to the DNS record
- Step 3: Insert @ to the Host field
- Step 4: Click on the “verify” button once the changes have been implemented across the domain server.

Under normal circumstances, changes are implemented in a few minutes. However, some situations may take up to 72 hours for the changes to occur. Therefore, we suggest you do this under carefully controlled circumstances, as any interruption may render the domain unusable until the issues are fixed.
Side note* the steps can differ depending on your web host.
Method 2 – By uploading the HTML file provided by Facebook
This method is rather simple and is similar to the first method. In this step, all you need to do is copy the HTML verification file and then upload the file to the root directory of the website. You can find the HTML file in your selected domain’s HTML File Upload tab.
The process is rather simple. The steps for this process are:
- Step 1: Get the HTML file from the HTML File Upload Tab
- Step 2: Access the root directory of your domain
- Step 3: Click on Verify once the file has been uploaded

Do not remove the verification file even after the process has been completed, since the Facebook bots can occasionally check the domain for verification and authentication.
Side note* You will need admin access to the root folder to do this. If you are not the owner of the domain, then you should ask for access.
Method 3 – Through the addition of <Meta Tag> to the <Head> Section of your domain home page
Instead of just uploading the files, you will need to add a tag in a specific section in the HTML code of the domain home page. You can find the Meta Tag verification code in your domain’s Meta Tag Verification tab. To do this, you will need to:
- Step 1: Insert the Meta Tag Verification code into the <Head> of the HTML of your domain’s Homepage
- Step 2: Access the HTML source to confirm that the Meta Tag Verification Code is visible
- Step 3: Once you are sure that the verification code is correct and visible, click on the “verify” button

These are the methods to verify your domain. Although these methods are not easy, they are not really that hard. With a little bit of know-how in the programming language, anyone can easily do these, especially the second method. If you know where the files are, you can simply upload the file without disturbing the rest of the files.
Connect your Facebook Pages
Once you have completed your Facebook Domain Verification, you should link any assets, i.e., Facebook pages related to the said domain. This will form a connection between the two, which will further prove your domain’s authenticity.
To do this, you will need to:
- Step 1: Go to your Facebook Business Manager
- Step 2: Click on “Connected Assets”
- Step 3: Select “Add Assets”
- Step 4: Click your Facebook page and add it
Once you have completed this step, your Facebook page will be interlinked with your domain.
As a side note, although the business manager can only verify the domain, she/ he can verify many domains. So if a Facebook Domain Verification is done by a company run by multiple partners or an advertising agency, adding in partners becomes a crucial step.
You can find the “Partners” tab near the “Connect Assets” tab used to add pages.
Click on Assign Partners, enter the business ID, and select “Next.”
Conclusion
Facebook Domain Verification is an important aspect of a business, especially in digital marketing and social media marketing. Even if you are not involved in these businesses, as long as you have a website and need social media to provide notifications, you should verify your domain with Facebook.
This will add credibility to both your website and Facebook page. The steps to do this are simple and accessible. Although you will need some programming knowledge, if you have access to the root file of the domain, it is not strictly necessary.
We hope this was helpful to you.
- Top 10 Free AI Video Generation Tools: How to Write AI Video Prompts Like a Pro
- LinkedIn Lead Generation: The Complete Guide for Generating High-Quality Business Leads in 2026
- 22 Proven B2B Lead Generation Strategies for Nepal Businesses
- How to Use AI in Marketing: 35 Free AI Marketing Tools for Small Businesses in Nepal
Popular Post

![[2026 Updated] Top 10 Digital Marketing Agencies in Nepal Ranked!](https://mysticrubs.com/wp-content/uploads/2022/05/top-10-digital-marketing-company-in-nepal.png)


100% Best FREE SEO TOOLS 2025 for SEO Ranking
5 years ago